# Creating an account and workspace
> **What you will learn**
> Actually creating an account and opening a workspace. Follow along with the
> screens.
## 1. Create an account
Start at the [sign-up screen](/signup).
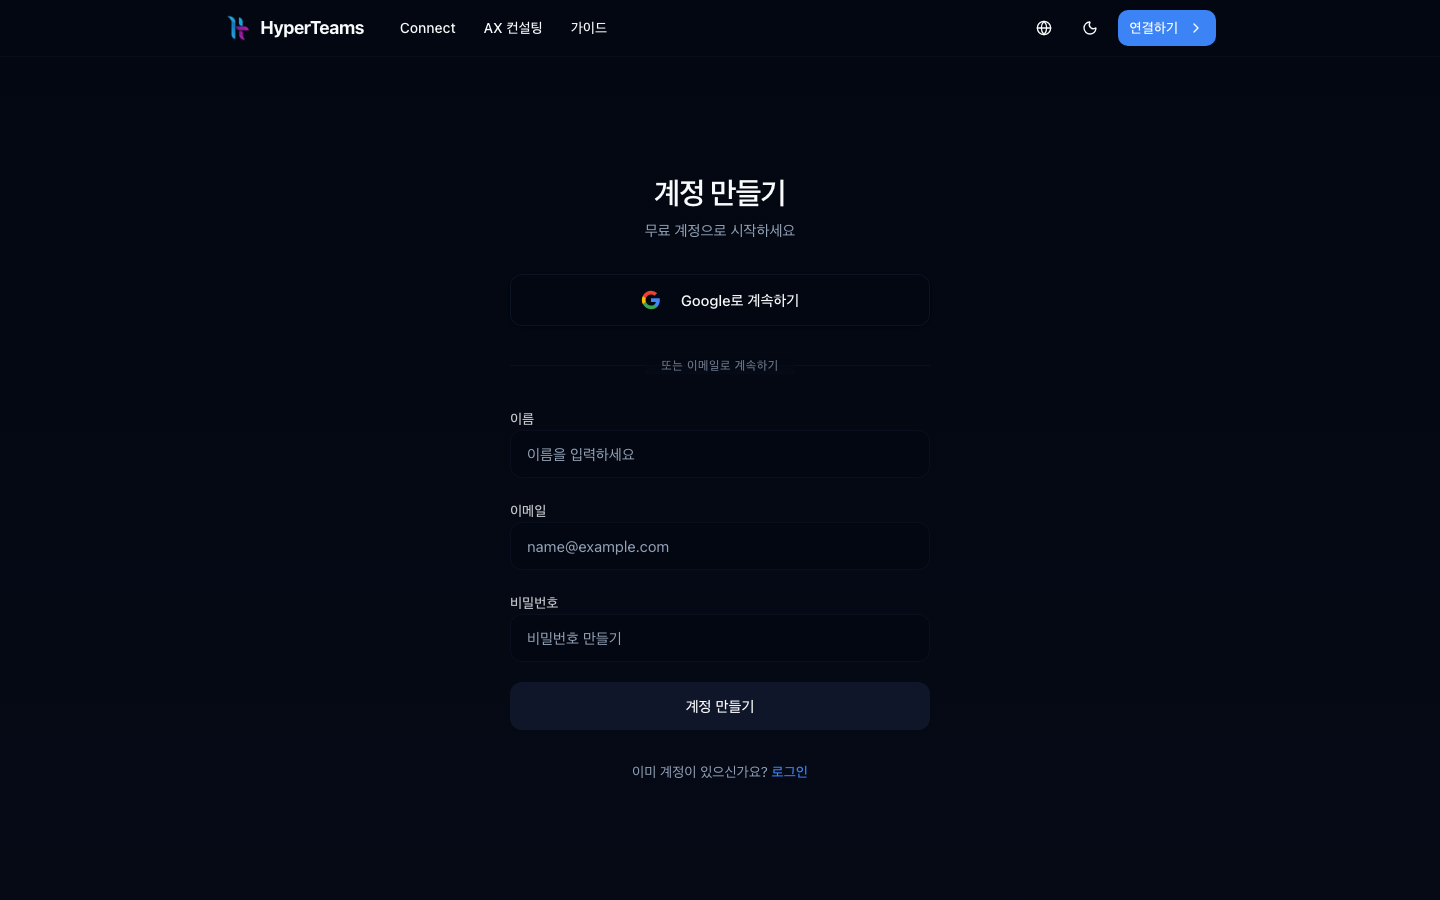
Two ways.
| Method | Character |
|---|---|
| **Continue with Google** | fastest. No verification email |
| **Sign up with email** | name, email, password, then confirm the verification email |
### If you signed up with email
**One verification email is sent.** You have to click that link to complete the
login.
```
□ if it did not arrive, check spam
□ on a work address, check the external-mail blocking policy
```
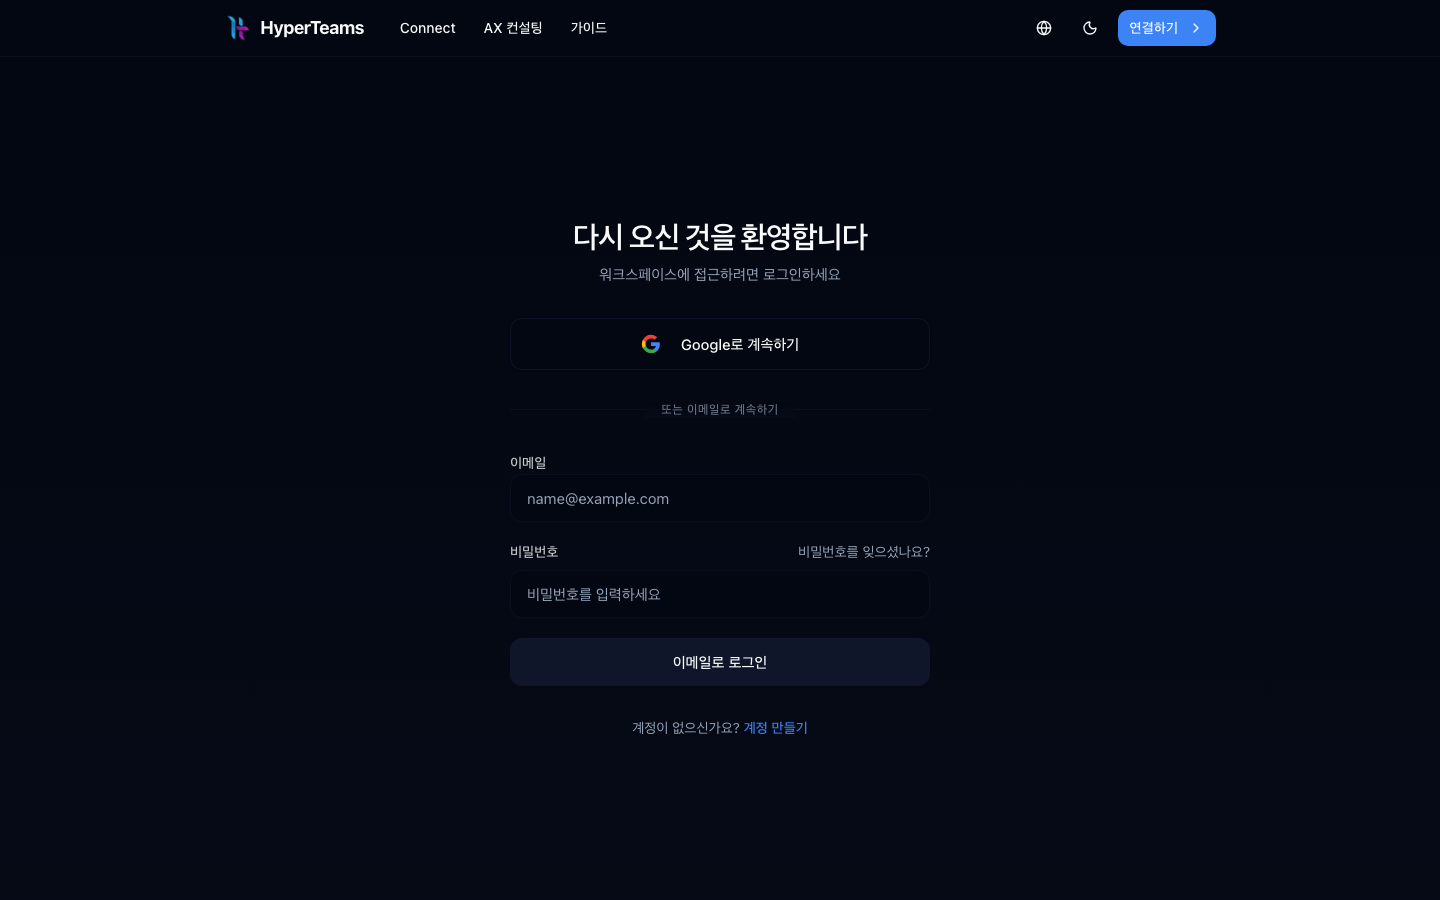
## 2. Log in
If you already have an account, go to [log in](/login).
## 3. Create a workspace
After logging in you get a screen to pick a workspace or create one.
Two things to decide.
| Item | Description |
|---|---|
| **Name** | the display name |
| **Handle** | the short name that becomes the address. Lowercase letters |
```
Name: Sales
Handle: sales
Address: /w/sales
```
> **Changing the handle later breaks links you shared.**
> Choose carefully, as covered in [workspaces](/guide/cn-workspace).
### Decide how to split them first
You do not need several from the start. **Start with one and add when needed.**
## 4. What you see inside
Entering a workspace drops you **straight into a chat box.** The menu is on the
left.
| Menu | What |
|---|---|
| New work | start a new thread; the ▾ beside it is **add groups** (new group · new section · browse groups) |
| Drive | the workspace file store (icon at the right of the New work row) |
| (conversation list) | your threads so far, filed under [groups](/guide/cn-groups); the rest sit under **My work** |
| Agents | things that run without you → [agents](/guide/cn-queue) |
| Tools | manage sub-agents and tools |
| System management | register your machine (admins only) |
| Settings | members, tools, usage, credits (gear at the right of the account row) |
> **Notifications are not in settings — they live inside the 🔔 in the header.**
> Worth knowing up front, because people look for them → [Getting
> notifications](/guide/cn-notifications)
**It is empty at first.** Start a conversation and the left-hand list fills up.
## 5. Bring the team in
If it is not just for you, invite members.
Invite by email under **Settings → Members**. Details in
[members and roles](/guide/cn-members).
## Next
You can go straight to [your first conversation](/guide/cn-first-chat), or if you
want the concepts first, start at [what Connect is](/guide/cn-what-is-it).
## Where people get stuck
### The verification email does not arrive
```
□ check spam
□ check the corporate mail policy (external mail blocked)
□ work around it with Google login
```
### I got an invite but the link will not open
Invite links **expire.** If it has, ask the person who invited you to send
another.
### I lose track of which workspace I'm in
The current workspace name is shown at the top left. Click it to switch.
---
## Check yourself
**1. What extra step does email sign-up require?**
Answer
**Clicking the link in the verification email** to complete the login. Google
login does not have this step.
**2. Why choose the handle carefully?**
Answer
**The handle is the address** (`/w/`), so changing it later breaks every
link you shared with the team.
**3. Should you create several workspaces from the start?**
Answer
No. **Start with one and add when needed.** Splitting is easier than merging.
---
Now your first conversation → [Your first conversation](/guide/cn-first-chat)