# The terminal
> **What you will learn**
> How the terminal differs from a task, and how to open what you built at a URL.
>
> **If terminals themselves are new,** start with [The terminal and commands](/guide/it-terminal).
## How it differs from a task
| | Task | Terminal |
|---|---|---|
| Character | give it a goal and it proceeds | **you type the commands** |
| Ending | finishes when complete | **stays open** |
| Used for | delegating | checking and operating |
If a task is "do this for me," the terminal is **the terminal you always used,
opened in a browser.**
## It stays alive
The biggest characteristic.
> **Close the screen or refresh it and the terminal is still there.**
```mermaid
graph TD
A["Start a dev server in the terminal"] --> B["Close the browser"]
B --> C["The server keeps running"]
C --> D["Reopen later
and it's exactly as it was"]
```
A normal terminal kills its processes when the window closes. This one does not.
### So these become possible
```
□ leave a dev server running and check it from your phone
□ start a long build and go out
□ leave a log streaming and glance at it occasionally
□ start something at the office and continue at home
```
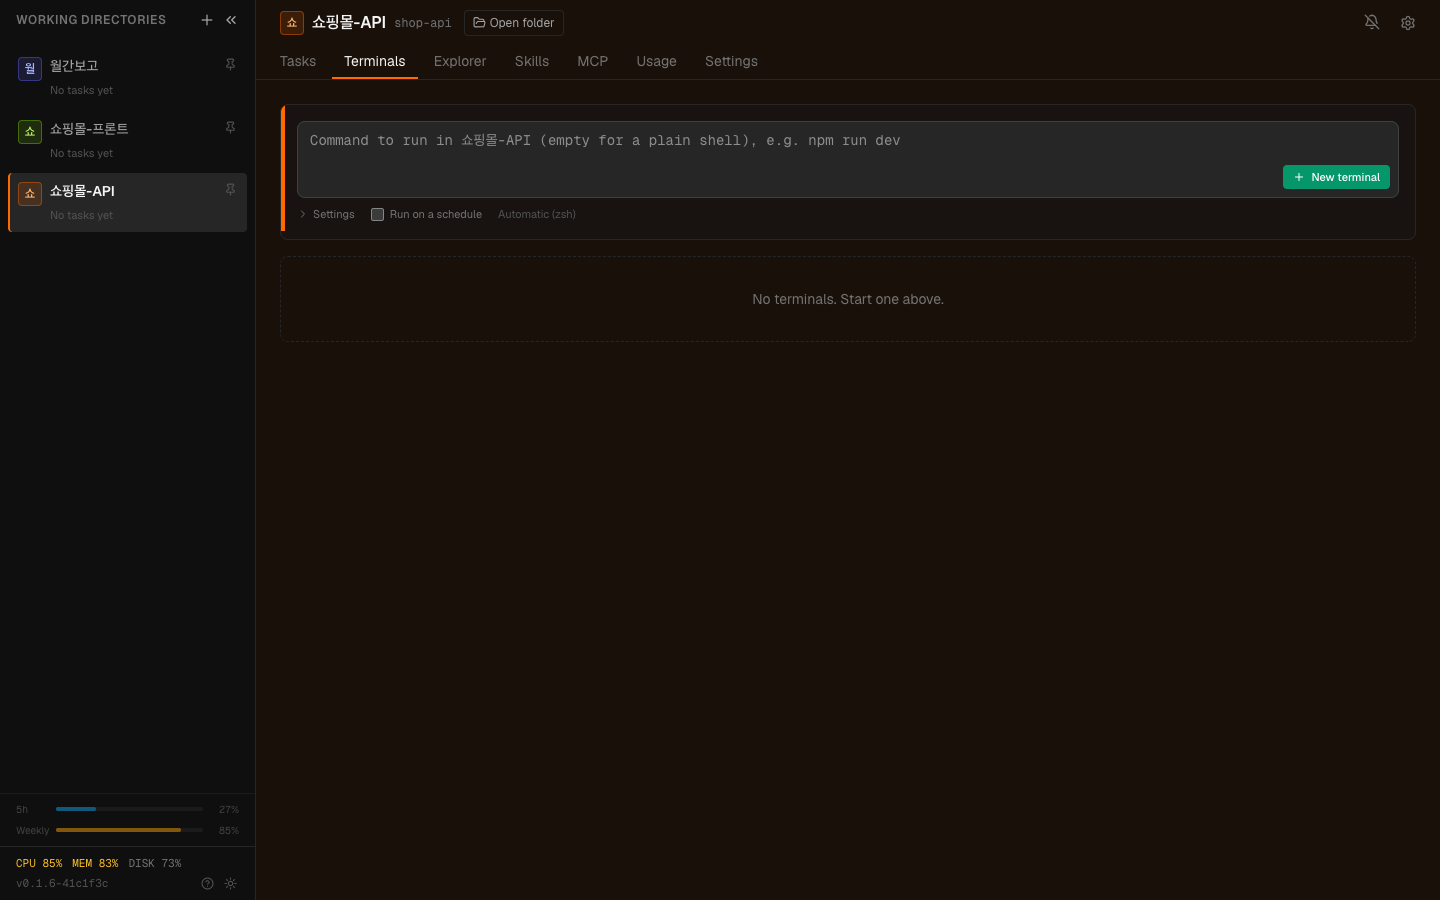
The Terminals tab. Sessions opened here survive closing the screen.
## Opening what you built at a URL
Start something like a dev server in the terminal and **you can open the result
at a single address.**
```
In the terminal: npm run dev (running on port 3000)
↓
A link appears on screen → click it and that screen opens
```
Where this is useful:
| Situation | Use |
|---|---|
| Showing a colleague | send them the address |
| Checking on a phone | verify the mobile layout |
| Comparing versions | split ports and run simultaneously |
> **If you set up [access from outside](/guide/ht-remote-access)**, that address
> opens externally too. Then you can send a colleague the link.
## Using it alongside tasks
In practice you mix them like this:
```
1. As a task: "add a social login button to the login screen"
2. In the terminal: npm run dev
3. Open the link: see how it actually looks
4. As a task again: "widen the spacing between the buttons a bit"
```
**Building goes to tasks, checking goes to the terminal.**
## Things to watch
### The terminal is unaffected by autonomy settings
A task's [autonomy level](/guide/ht-autonomy) applies to the agent. The terminal
is **you typing directly**, so that setting does not apply.
Which means **whatever you type in the terminal runs.** Type a command that
deletes files and files are deleted.
### Do not forget long-running processes
Staying alive is both the advantage and the caution. Leave several dev servers
running and forget them and they keep consuming your machine's resources. Clean
up terminals you are not using.
### When the log gets long
Accumulating log output makes the screen heavy. When needed, opening a fresh
terminal is better.
---
## Check yourself
**1. What is the difference between the terminal and a task?**
Answer
A task means **giving a goal and letting the agent proceed**, ending when
complete. The terminal is **you typing commands directly** and it stays open.
**2. What happens to the terminal when you close the browser?**
Answer
**It stays alive.** A normal terminal kills its processes when the window closes;
this one does not. That is why you can leave a dev server running and come back
later.
**3. Why do autonomy settings not apply to the terminal?**
Answer
**Because you are typing directly.** Autonomy levels apply to the agent; in the
terminal whatever you type simply runs.
---
Now work that runs automatically at a set time →
[Scheduled runs](/guide/ht-schedule)